Scheduling or Starting a meeting
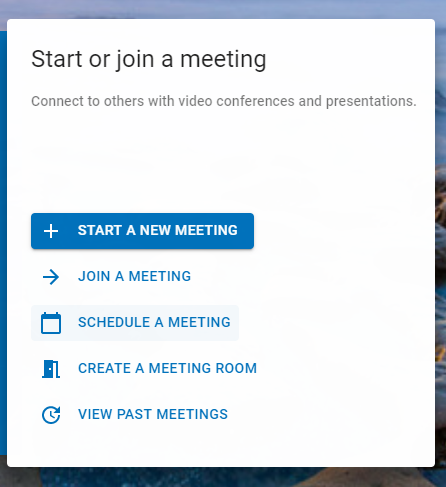
- Login to SNAP.HD and click "Start a New Meeting" or "Schedule A Meeting" - they have nearly identical options:
- On the Schedule A Meeting page you can name the meeting and provide it with a description.
- You can select when you would like the meeting to occur by clicking the calendar for the date.
- Then the Clock icon for the time.
- Then select a time zone.
- Followed by the duration.
- If you would like this meeting to recur on a given schedule, you can tick the "Recurring box" and select accordingly.
- Then select if you want the meeting to be a Conference or Webinar.
- In conferences, every user can have video and audio input
- In Webinars, only Hosts or Presenters have audio or video; people watching the webinar can chat but will not supply a camera or microphone feed
- Then select the options you want the meeting to have enabled:
- Enable Chat - you can disable/enable the chat pane for this conference
- Hosts can edit this meeting after the fact, or are its settings permanent?
- You can optionally hide the participants list so that participants cannot see each other's names (great for webinars)
- You can require that a registration or invitation be used, which limits guest access
- You can optionally force that the meeting host be present before the conference begins
- You can record the meetings
- You can require a PIN or passcode to be used to join the meeting for security.
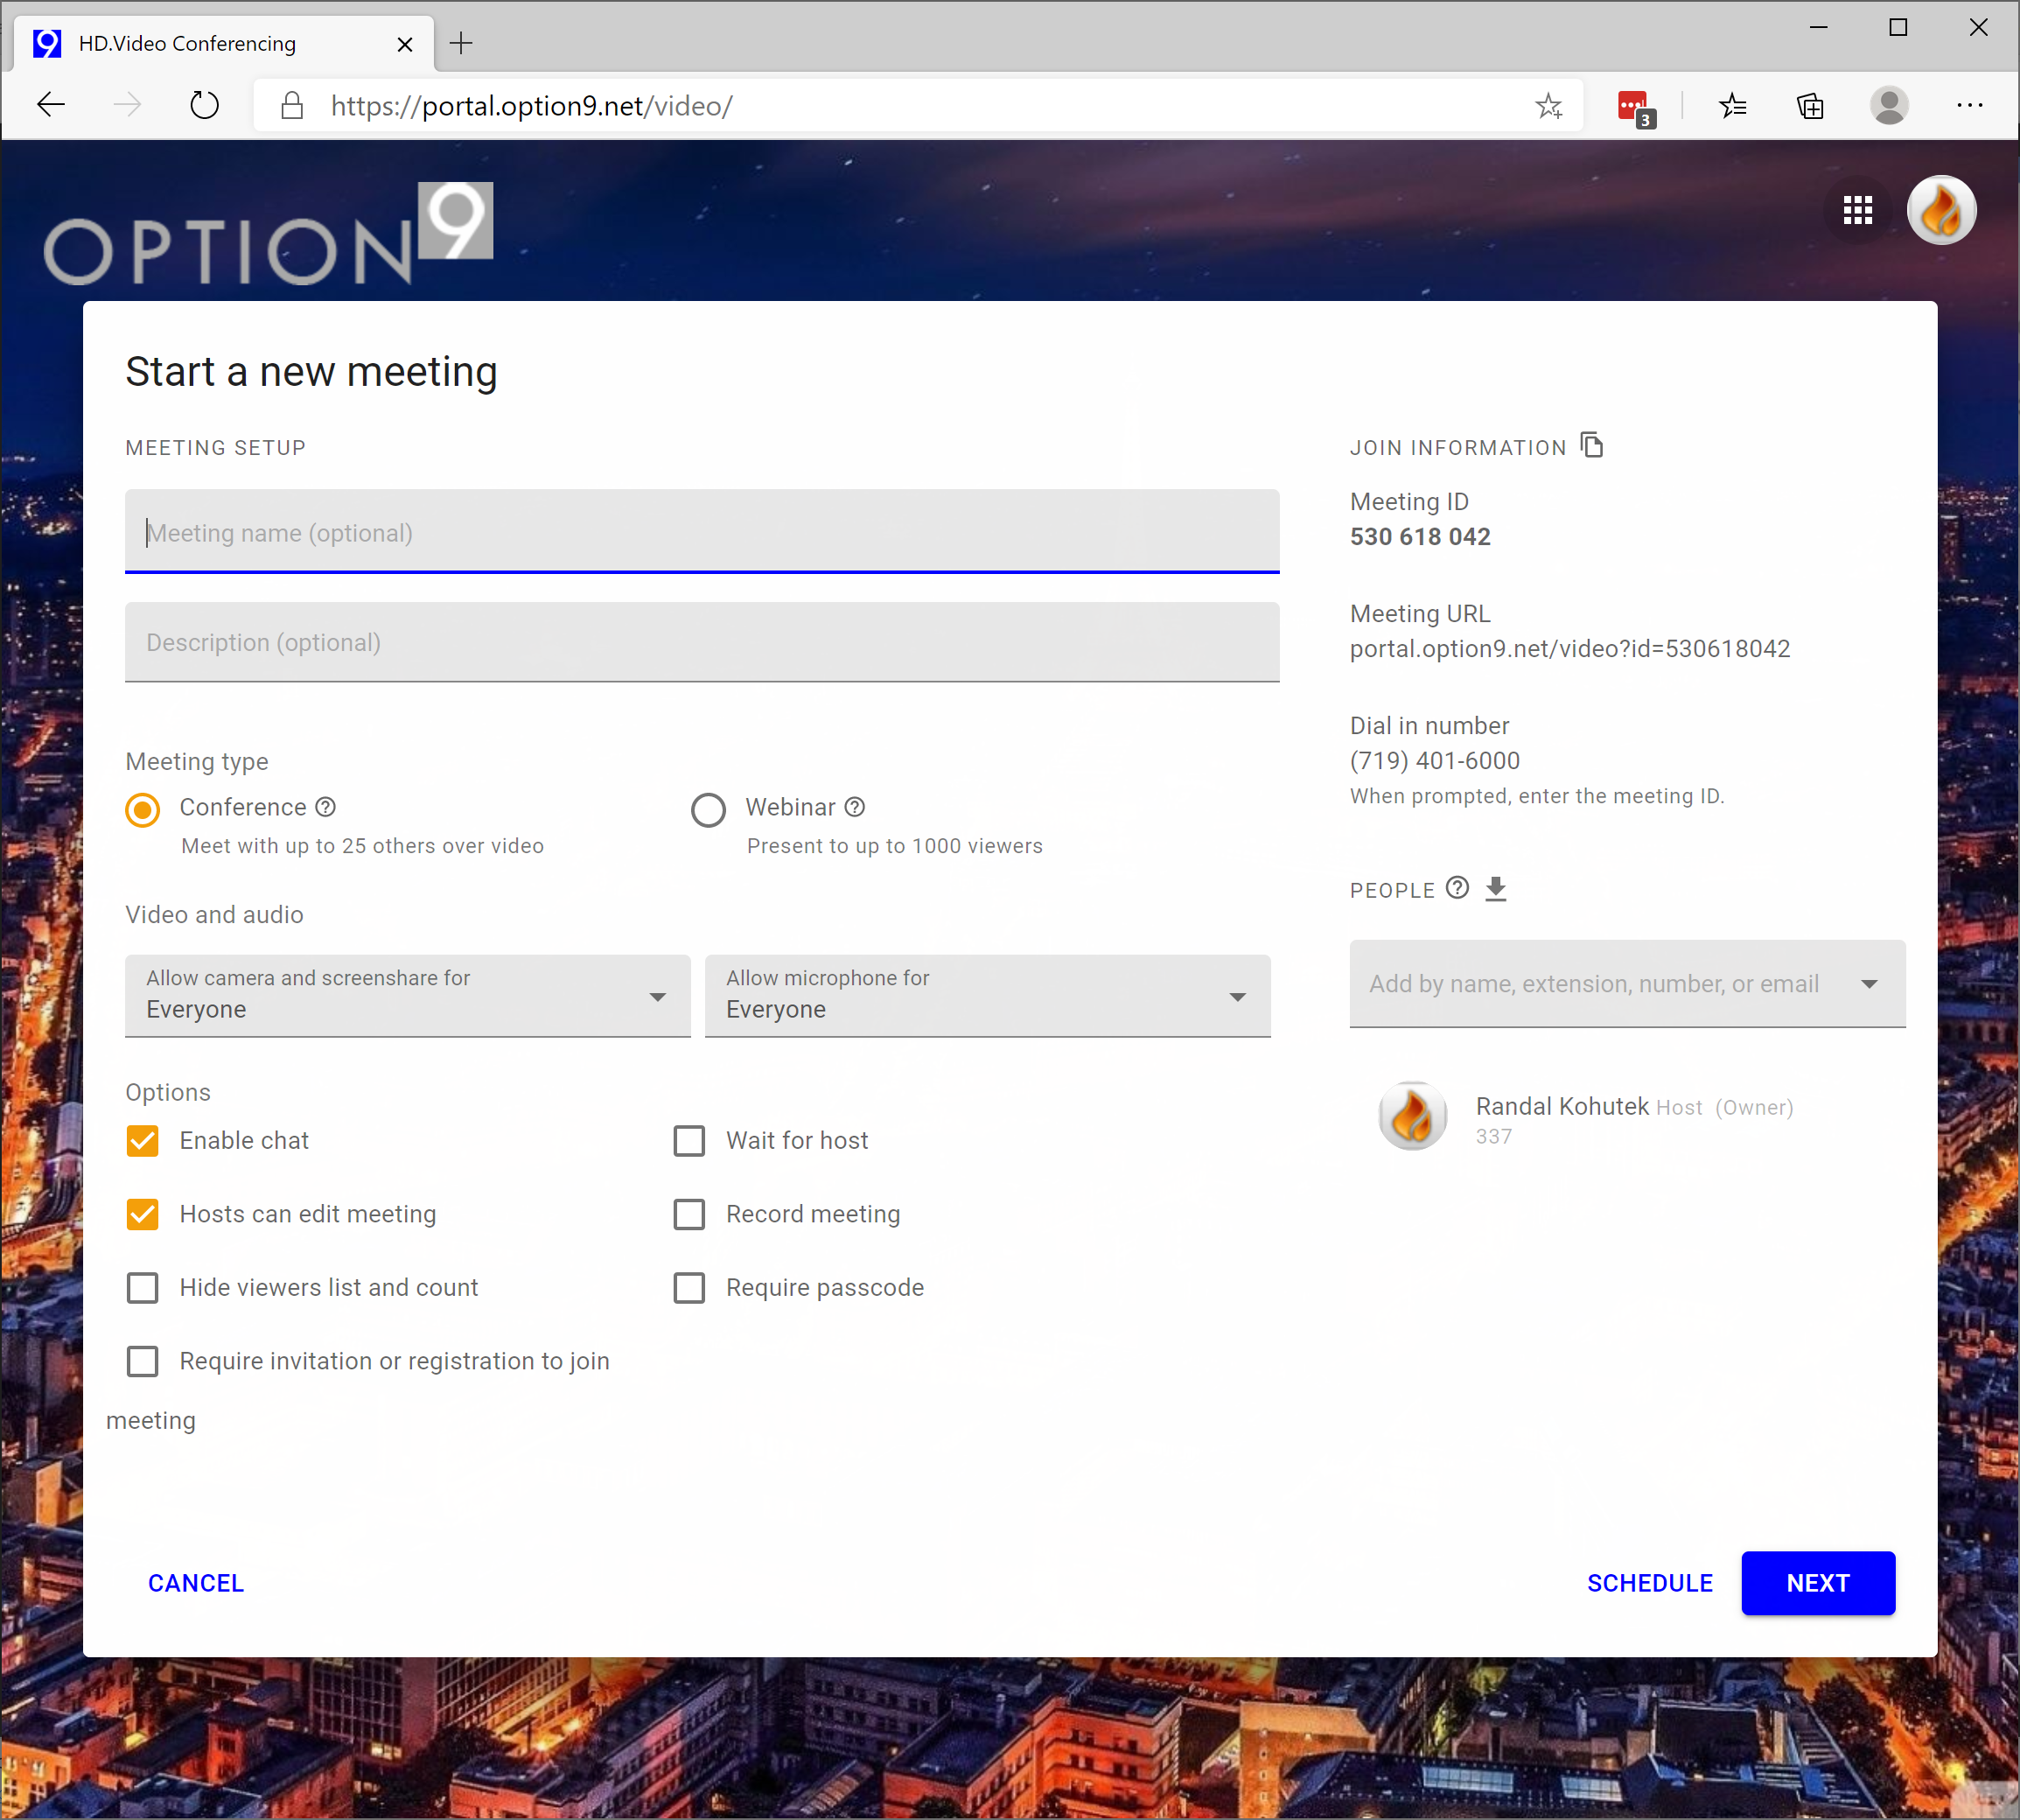
You can select your meeting attendees by clicking on the "PEOPLE" section and filling them in from your contacts, or you can send out email invites by putting in the recipients email address in this box.
Email invitations are sent to all participants, and they look like the image below. The invitation includes the meeting name and description, when it is to start, as well as the link to the video bridge and the optional dial-in information. If this is a scheduled event in the future, the invitation will include a calendar attachment (.ics) with all the same information, so it can be saved to the invitees calendaring application.

10. Upon commencing or joining the meeting, your browser may prompt you for access to your notifications, camera and microphone. You should "allow" those accordingly for the video conference to function.
Example from Google Chrome browser:

11. Once your meeting is ready to start and you have joined it, and accepted any browser prompts you will see the following window, which will let you select whether or your camera or microphone or screenshare will be active upon joining the meeting. All of those can be toggled during the meeting. You can also click the "device settings" link to change your input microphone, camera, and to do some basic sound and video checks to ensure functionality.

When you're ready to conference, click Join!
